Cashless Payments & Telemetry Setup
⏱ 6 min read
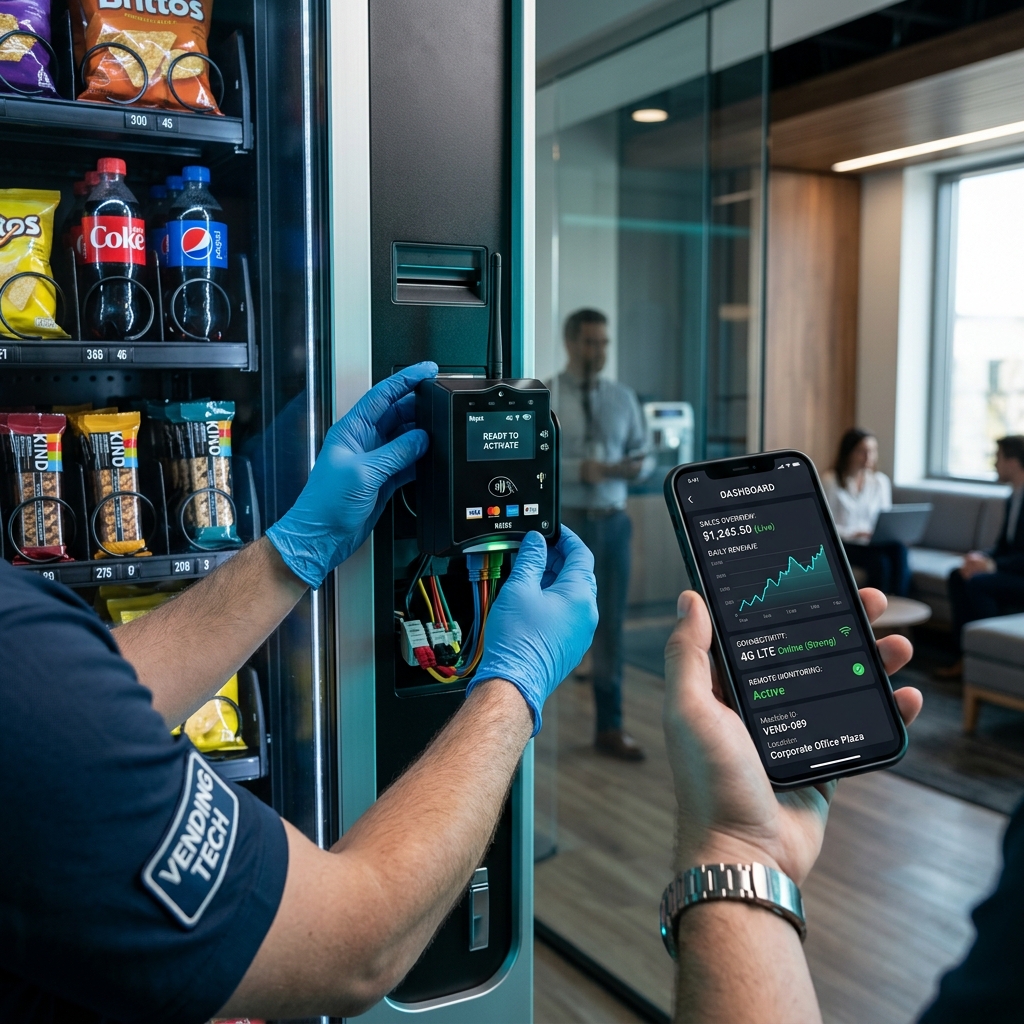
Going digital: installing a cashless card reader, connecting telemetry, and monitoring your fleet from a real-time dashboard on your phone.
Making Your Machine Smart: Cashless & Telemetry Setup
In 2026, a vending machine without cashless payment is leaving 20% to 35% of potential revenue on the table. Most consumers under 40 don't carry cash. This lesson walks you through choosing, installing, and configuring your payment and monitoring systems, detailing transaction fees, configuring telemetry alerts, comparing protocol standards, and resolving cellular dead zones.
1. Choosing a Payment Processor
You need two things: hardware (the card reader) and software (the payment processing service). Most vendors bundle both.
| Provider | Hardware Cost | Monthly Fee | Transaction Fee | Telemetry Included |
|---|---|---|---|---|
| Nayax | $320 - $380 | $7.95 - $9.95 | 5.95% (Flat) | Yes |
| Cantaloupe (USA Tech) | $300 - $350 | $9.95 | 5.50% | Yes |
| PayRange | $40 - $80 | $0 | 5.25% | Basic only |
Our recommendation: Start with Nayax or Cantaloupe. The slightly higher transaction fee is offset by the included telemetry platform, which saves you thousands in wasted trips and lost sales.
2. Transaction Fee Math: Interchange vs. Flat Rate
Understanding merchant fee structures is critical for accurate product pricing:
- Flat-Rate Processors (Nayax): Charging a flat 5.95% transaction fee means a $1.50 soda purchase costs you $0.09 in fees. This is highly cost-effective for small-value transactions typical in vending.
- Tiered Processors (Cantaloupe): If a processor charges 5.50% + $0.05, that same $1.50 soda purchase costs $0.13 ($0.08 + $0.05) in fees, increasing your effective rate to 8.8%.
- Pricing Strategy: Always build these processing fees into your vend prices. If your cash target price for an energy drink is $3.00, set the machine price to $3.15 for cashless transactions, or raise the base price to $3.10 and offer a cash discount.
3. Understanding MDB Protocol Versions
While MDB Version 2.0 is the minimum requirement for basic card reader connections, upgrading to MDB Version 3.0 or higher is highly beneficial:
- Multiple Cashless Devices: MDB 3.0 allows you to run multiple cashless units (like a physical credit card reader alongside a bluetooth-only PayRange unit) off the same bus.
- Dynamic Price Displaying: MDB 3.0 supports sending custom text to the reader screen, allowing you to show separate credit and cash prices to the customer.
- Currency Scaling Improvements: MDB 3.0 handles higher bill values ($10, $20) and complex payout calculations without draining coin changer tubes.
4. Hardware Installation Step-by-Step
Installing a modern card reader takes 30-45 minutes:
- Power Down: Unplug the main power cord of the vending machine. Working on a powered machine can short out the control board ($300+ replacement).
- Mount the Reader: Remove the blank security plate covering the card reader slot on the front door. Position the reader and secure it using the four mounting studs and nuts.
- Connect the MDB Harness: Locate the Multi-Drop Bus cable coming from the machine's motherboard. Connect the male and female 6-pin connectors from the card reader's harness.
- Route the Cellular Antenna: For best signal, route the magnetic puck antenna out of the top cabinet and mount it on top of the machine. If the machine is indoors with poor cellular reception, use a high-gain booster antenna.
- Power Up & Signal Test: Plug the machine back in. The card reader will boot up, run self-diagnostics, and display its signal strength (aim for 3 out of 5 bars minimum).
5. Antenna Positioning & Signal Optimization (RSSI Vetting)
Cellular connectivity is the lifeblood of remote diagnostics:
- Understanding RSSI (Received Signal Strength Indicator): Check your reader's diagnostic display. Signal strength is measured in dBm. Aim for -85 dBm or better (e.g. -70 dBm is excellent, while -100 dBm is a dead zone that will cause transaction timeouts).
- External Antenna Puck Mounting: If signal is weak, drill a 1/2-inch hole through the top sheet metal of the cabinet. Route the antenna connector wire through a rubber grommet, and mount the magnetic puck antenna flat on the exterior roof of the cabinet. This places the antenna above the metal shielding of the building's walls.
- SIM Card Swapping: If a location has a Verizon dead zone, contact your provider to swap the internal SIM card to AT&T or T-Mobile.
6. Configuring Remote Telemetry Alerts
Optimize your route management by setting up automated real-time alarms:
- Temperature Alarms: Configure your dashboard to send a push notification or email if the internal cabinet temperature rises above 45°F for more than 20 minutes. This prevents spoilage and warns you of compressor failure.
- Bill Validator Jams: Set alerts for "Validator Bill Jam" or "Coin Hopper Empty" so you can service the machine before customers get frustrated.
- Power Failure Alarms: Nayax and Cantaloupe readers contain small internal backup batteries that allow them to send a final "Power Outage Detected" signal to the cloud when a breaker trips.
7. Mobile Wallets and Loyalty Apps
Cashless readers also open the door to advanced customer engagement features:
- Nayax Monyx Wallet: An app that allows repeat customers at a location to load funds, receive 10% bonus discounts that you configure, and track their purchases. You get paid the full transaction value, and Nayax handles the promotional credit.
- Digital Refund Processing: If a customer reports a jammed product, you can process an instant refund through the Nayax operator dashboard directly back to their credit card or Monyx wallet, eliminating the need to mail physical cash refunds.
8. Integration with Accounting Software
Telemetry does not just help with stocking; it streamlines your back-office financials:
- Zapier Integrations: You can link your Nayax or Cantaloupe cloud account to QuickBooks Online via automated integration apps. Every daily sales payout is recorded automatically, matching the deposits in your bank account, which eliminates manually reconciling each card swipe at the end of the month.
- DEX File Exporting: At the end of the year, you can export all historical DEX transaction files. This gives your accountant an audit-proof log of every product sold, gross margins, and cashless processing fees, ensuring you claim every merchant fee deduction you are legally entitled to.