Maintenance & Troubleshooting
⏱ 6 min read
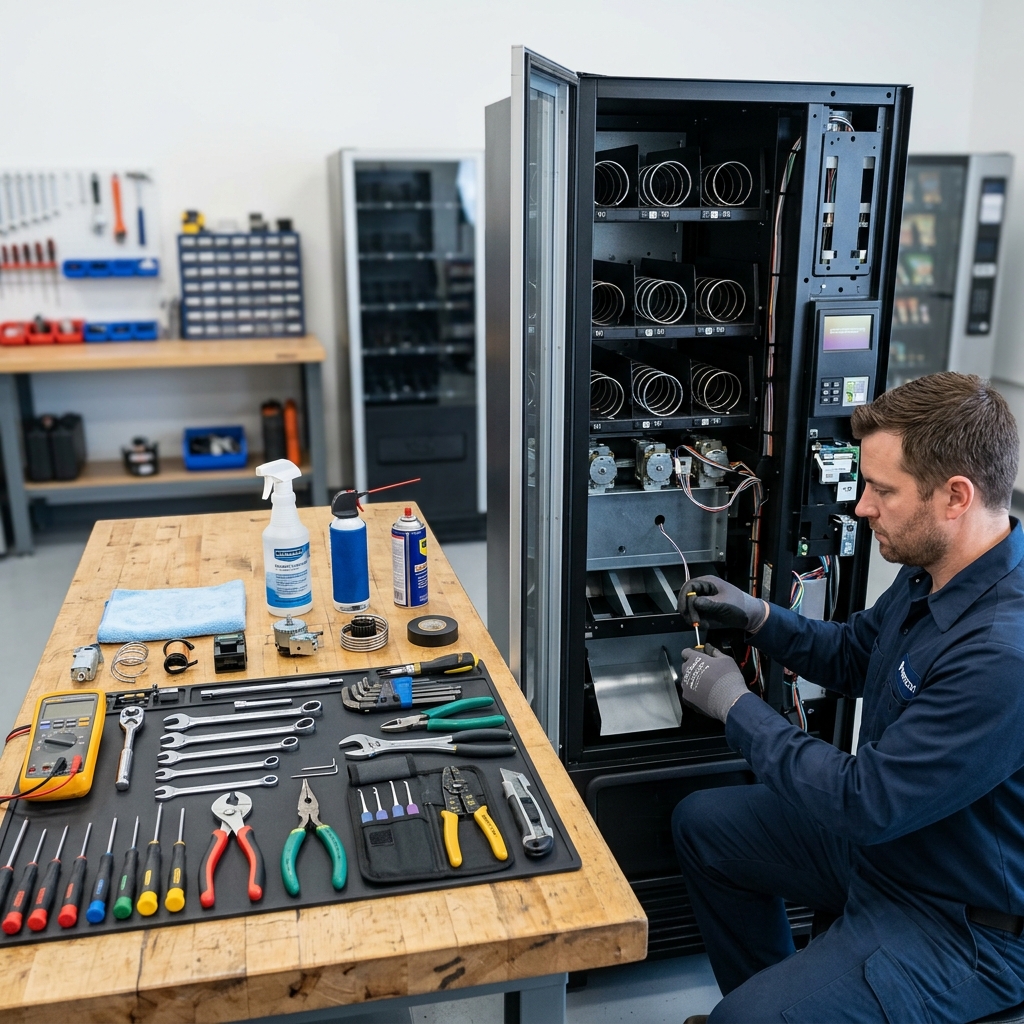
Be your own technician: an organized toolkit, diagnostic equipment, and replacement parts. This is everything you need to keep your machines running 99% uptime.
Keeping Your Machines Running: Maintenance & Repair
In the vending business, machine uptime is the single most critical driver of customer retention and revenue protection. Every hour a machine stands out of service at a high-volume location not only leaks immediate sales but also damages your relationship with the property manager. If a machine remains broken for a weekend, the location owner will start answering cold calls from your competitors.
This lesson outlines the toolkits you must carry, establishes a preventive maintenance schedule, provides detailed diagnostics for common component failures, and outlines the economic decision matrix for DIY repairs versus professional servicing.
The Route Operator's Essential Toolkit
Never run a route without a dedicated service bag in your vehicle. Your toolkit must contain:
- Multimeter: For testing wall outlet voltage, harness continuity, and motherboard power outputs.
- Nut Driver Set (1/4" and 5/16"): The standard sizes used for vending cabinet panels and component mounts.
- Microfiber Cloths & Glass Cleaner: Aesthetics drive impulse sales; clean glass is non-negotiable.
- Rubbing Alcohol (99% Isopropyl) & Swabs: For cleaning optical sensors on bill validators and coin paths.
- Silicone Lubricant Spray: For door hinges, T-handles, and lock cylinders (do not use WD-40, which attracts dust).
- Zip Ties & Electrical Tape: For organizing MDB wire harnesses and protecting loose cables.
- Spare Parts: Keep at least one extra coin mechanism, one bill validator, and two standard 24V coil motors in your van.
Preventive Maintenance Schedule (Uptime Target: 99%)
Running a proactive maintenance program reduces emergency breakdown calls by 80%. Integrate these tasks into your schedule:
| Frequency | Target Area | Task Description | Est. Time |
|---|---|---|---|
| Every Route Visit | Exterior & Delivery Bin | Wipe glass, clean keypad, sweep delivery flap, check for graffiti. | 3 Mins |
| Every Route Visit | Inventory Rotation | Pull old items forward; verify expiration dates on pastries. | 2 Mins |
| Monthly | Condenser Coils | Vacuum dust and lint off the refrigeration metal cooling fins. | 10 Mins |
| Monthly | Bill Validator | Slide out validator; wipe optical read sensors with dry cotton swab. | 5 Mins |
| Quarterly | Coin Mechanism | Test coin return payout slides; clean coin tracks with alcohol. | 10 Mins |
| Quarterly | Mechanicals | Spray silicone lube on hinges and T-handle lock; run self-test. | 15 Mins |
| Annually | Gaskets & Motherboard | Inspect door gaskets for cold air leaks; check coin cell battery. | 30 Mins |
Detailed Troubleshooting & Repair Scenarios
1. Cleaning Clogged Condenser Coils (DIY Cost: $0 | Professional: $120)
If your machine's refrigeration system runs constantly but does not drop the temperature to the target 35°F to 40°F, the condenser coils are likely insulated with dust.
- The Fix: Unplug the machine. Slide off the lower rear access panel. Use a vacuum with a soft brush attachment to clean the dust from the metal fins. Ensure you do not bend the thin fins. Clean coils improve compressor efficiency, saving up to 25% on electricity.
2. Coin Mechanism Sensor Calibration (DIY Cost: $0 | Professional: $95)
If your coin mechanism rejects valid quarters or dimes, the optical drop sensors are coated in dust or sticky residue from spilled soda.
- The Fix: Unplug the MDB harness. Pop off the validator gate section. Wipe the optical LED paths with a cotton swab dipped in rubbing alcohol. Blow out any lint. Reassemble and run a coin acceptance test.
3. Replacing a Jammed Coil Motor (DIY Cost: $15 | Professional: $150)
If a specific slot shows a "Motor Error" or fails to drop product, the individual 24V DC gear motor has failed or stripped its gears.
- The Fix:
- Power off the machine.
- Slide out the product shelf and disconnect the shelf's MDB wire harness.
- Locate the faulty motor at the back of the specific column.
- Depress the mounting clips, pull the motor out, and slide in a new replacement motor ($12-$15 online).
- Reconnect the harness, power on, and enter the diagnostics menu to run a test cycle on that selection slot.
4. The Gasket "Dollar Bill Test" (DIY Cost: $25 | Professional: $110)
If frost builds up inside your snack cabinet or the compressor runs constantly, the magnetic door gasket is likely leaking cold air.
- The Fix: Close the machine door on a dollar bill. Try to pull the bill out. If it slides out with zero resistance, the gasket is not sealing. Replace the magnetic gasket strip ($25) by pulling it out of the door channel and pressing the new one in place.
5. Diagnostic Motherboard Testing (DIY Cost: $10-50 | Professional: $160)
If the machine displays a "RAM Error", resets constantly, or has corrupted screen text, the motherboard's logic chip or backup battery has failed.
- The Fix: Locate the main control board (usually behind the door panel next to the coin mech). Use your multimeter to test the lithium coin battery voltage (should read 3.0V+). If it is low, replace the battery ($3). If the board itself is unresponsive, check the main power transformer fuse. A blown fuse ($2 replacement) is often mistaken for a dead $250 motherboard.
6. Programming Manual Prices on Motherboards
If your telemetry system is disconnected, you must know how to set prices manually on the controller board. Press the red/blue service button on the motherboard to enter Service Mode. Navigate the LED panel menu to "Price Setup" using the keypad. Input the selection number (e.g., Coil 110) and type the price (e.g., 1.50) using the keypad. Press the asterisk key to save. Exit Service Mode to verify the updated price displays on the exterior screen.
DIY vs. Professional Repairs: The Economic Line
Understanding when to repair a component yourself versus when to hire a specialist prevents costly mistakes and preserves your profit margins.
- Do It Yourself (DIY): Swapping motherboards, upgrading logic chips, replacing keypad buttons, installing card readers, clearing coin jams, replacing coin payout slides, and swapping selection motors. These require only basic hand tools and no licensing.
- Hire a Certified Refrigeration Technician: Call a pro if the compressor fails to start, if there is a refrigerant leak, or if you need to evacuate and recharge a cooling loop. Refrigeration repairs require specialized EPA Section 608 certification and recovery equipment. Expect a professional dispatch fee of $90 to $150 per hour plus parts. If your machine is over 10 years old and has a failed compressor, it is often more cost-effective to buy a refurbished cooling deck ($450) and swap it out yourself (a simple slide-out unit secured by 4 bolts) rather than paying a technician to rebuild it.