Route Scheduling & Daily Operations
⏱ 6 min read
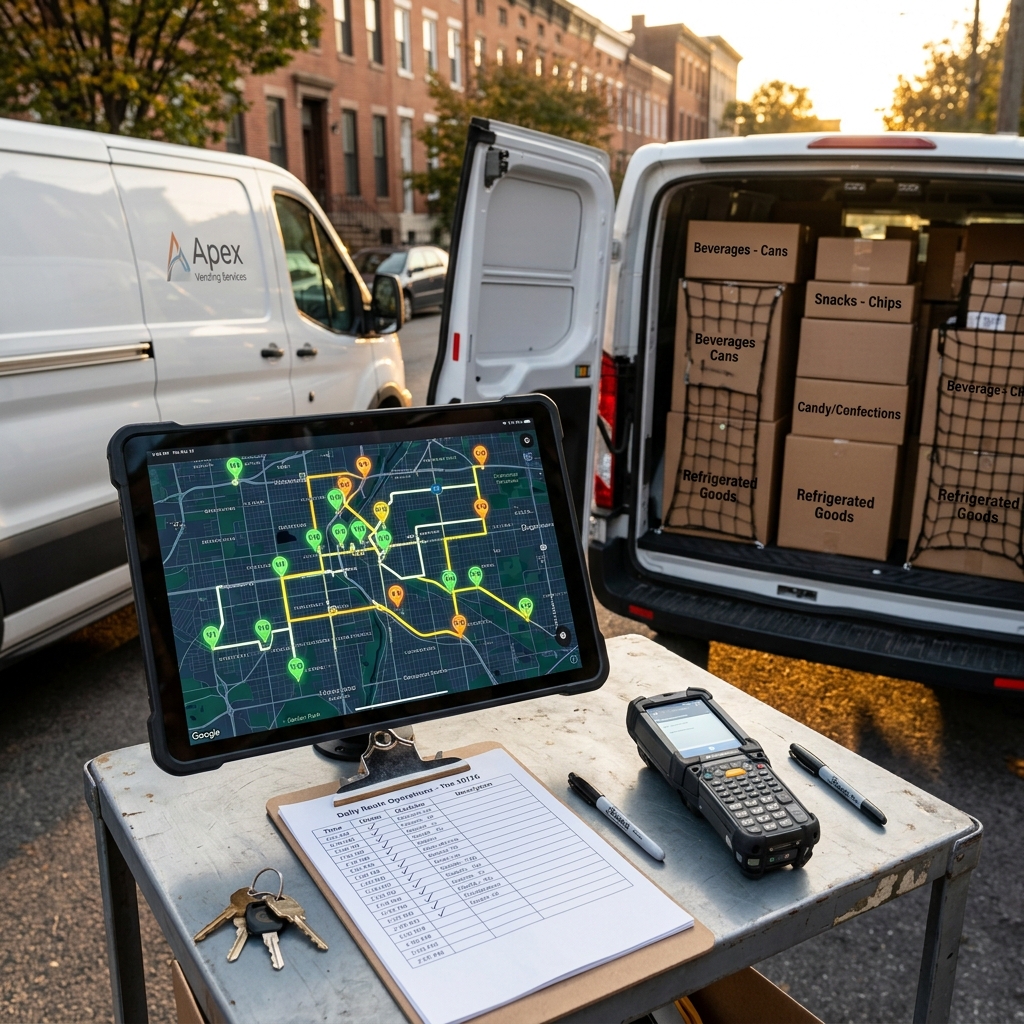
Operational excellence: route mapping, inventory pre-loading, service scheduling, and mobile tracking. This is the daily system that turns machines into passive income.
Logistics & Operations: The Route Efficiency System
Vending is fundamentally a logistics and inventory management business. The route operators who build highly profitable, six-figure enterprises do not work harder; they build systems that minimize travel time, maximize packing capacity, and automate inventory tracking. If you run your route blindly without telemetry data or optimized vehicle layouts, you will spend all your profits on fuel and vehicle wear.
This lesson details the lifecycle of route vehicles, explains how to use telemetry to schedule route runs, outlines the step-by-step pre-kitting workflow, details the logistics of handling cold chains for fresh and frozen products, and establishes secure cash reconciliation systems.
Route Vehicle Selection & Outfitting
As your route grows, your vehicle will quickly become your main operational bottleneck. Plan your logistics capacity using these three stages:
Stage 1: The Personal SUV or Hatchback (1 - 5 Machines)
- Setup: Lay down a heavy-duty plastic liner in the trunk and fold down the rear seats.
- Capacity: Can hold 15-20 cases of sodas and 10-15 boxes of snacks.
- Logistics: Low entry cost. However, passenger vehicles lack temperature control. Hot summer days will melt chocolate inventory within hours. You must use insulated coolers with ice packs to protect candy.
Stage 2: The Mid-Sized Cargo Van (5 - 15 Machines)
- Setup: Sourced models include a used Chevrolet Express or Ford Transit. Install steel cargo shelving on one side and leave the floor open for heavy beverage cases.
- Capacity: Comfortably holds 40-60 cases of drinks and 30-40 cases of snacks.
- Logistics: Protects your personal vehicle's suspension from extreme weight. Commercial auto insurance policies for cargo vans cost $120 to $180 per month, which must be accounted for in your business overhead.
Stage 3: The High-Roof Cargo Van (15+ Machines)
- Setup: Mercedes Sprinter or Ram ProMaster. Features standing headroom, insulated cargo walls, and integrated loading ramps for dollies.
- Capacity: 100+ cases of inventory, tools, and spare parts.
Telemetry-Driven Routing vs. Fixed Schedules
Running a route based on a fixed calendar schedule (e.g., "always visit every machine on Tuesdays") is highly inefficient. It leads to servicing half-full machines, wasting travel time and fuel.
Instead, leverage your card reader's cellular connection to run Telemetry-Driven Routing:
- VMS (Vending Management System): Platforms like Parlevel VMS or Cantaloupe Go monitor your machines in real-time. They track exactly how many units have sold from each coil.
- The Service Trigger: Set a service trigger threshold. Typically, you schedule a machine for service when its top three sellers are sold out, or when total inventory drops below 70%.
- Route Optimization: The VMS automatically maps your route, ordering your stops to minimize driving distance and fuel consumption. This saves an average of 25% on route fuel and reclaims 5-8 hours of personal time weekly.
Handling Cold Chains for Fresh & Frozen Products
If your route includes fresh food machines (sandwiches, wraps, salads) or frozen food units (ice cream, microwave meals), you must maintain a strict cold chain to prevent bacteria growth and comply with FDA safety guidelines:
- FDA Safe Storage Threshold: Perishable fresh food must be kept below 41°F at all times. Frozen items must remain below 0°F.
- Transport Coolers: Use commercial-grade insulated coolers (like Yeti or Pelican) with heavy-duty freezer packs or dry ice blocks during transport in your cargo van. Never allow fresh foods to sit in an uncooled vehicle cargo bay.
- Temperature Monitoring: Keep digital probe thermometers inside your transport coolers. Record temperature readings in your route log before leaving the warehouse and immediately prior to stocking. This provides an audit trail in the event of local health department inspections.
The Pre-Kitting Workflow
Pre-kitting is the process of packing bins with the exact products needed to service your route before you leave your storage space. This eliminates the need to haul full cases of product to the location and pack bins in the parking lot.
┌─────────────────┐     ┌─────────────────┐     ┌─────────────────┐
│ 1. Pull VMS     │ ──> │ 2. Print VMS    │ ──> │ 3. Pack Totes   │
│    Sales Data   │     │    Pick List    │     │    by Machine   │
└─────────────────┘     └─────────────────┘     └─────────────────┘
                                                         │
                                                         ▼
┌─────────────────┐     ┌─────────────────┐     ┌─────────────────┐
│ 6. Stock & Swap │ <── │ 5. Load Van in  │ <── │ 4. Move Totes   │
│    Cash Vault  │     │    Reverse Order│     │    to Vehicle   │
└─────────────────┘     └─────────────────┘     └─────────────────┘
- Extract Data: The night before your route day, log into your VMS dashboard and verify which machines have crossed their service trigger thresholds.
- Generate Pick Lists: Export the pre-kitting report. The VMS will show a consolidated pick list (e.g., "Pack 14 cans of Diet Coke, 8 bags of Doritos, and 6 Snickers").
- Pack the Bins: Load heavy beverages at the bottom of plastic storage totes, followed by lighter snacks on top. Label each tote with the target machine's name.
- Load the Van: Load the totes in reverse-route order (the first stop is loaded last, closest to the cargo doors).
- Service the Location: Walk into the location with only the pre-kitted tote and a cash bag. You can service, clean, and collect cash from the machine in 12 to 15 minutes (compared to 45 minutes for non-kitted operators).
Secure Cash Management & Reconciliation
Even with cashless transactions representing 70% of sales, cash collection remains a high security risk. Implement this three-step cash reconciliation protocol:
-
Step 1: Dual-Bag Collection: Carry two zippered, numbered cash bags. Bag A is for the bill validator stacker. Bag B is for the coin mechanism vault. Drop the money directly into the bags at the machine; never count cash in public view.
-
Step 2: DEX Telemetry Auditing: Your VMS records every physical bill and coin accepted by the machine. When you return to your office, count the cash and compare it against the DEX report:
Investigate any variance exceeding $2.00 per machine. Consistent discrepancies indicate a bill jam, coin coin mech failure, or theft.
-
Step 3: Deposit & Accounting Integration: Deposit cash weekly. Link your bank accounts to QuickBooks Online via Zapier, matching your cash deposits and Nayax merchant payouts to your weekly route reports. This ensures complete accounting transparency, protecting your margins from unexplained leakage.